Sheet Mulching

Mulch is a useful material for your garden. Mulch inhibits weed seeds from germinating by starving them of sun. Mulch prevents soil from drying out, and moderates soil temperature. A natural mulch will decompose and enrich the soil as it decays. Aesthetically, it fills in the space between plants more attractively than bare soil.
Mulch can also be used to completely transform an unwanted lawn or area of soil that has poor nutritional quality. This is done by applying a sheet mulch. Sheet mulches are more complex than simply applying a couple of inches of mulch in a flower bed. Sheet mulches are sometimes referred to as "lasagna gardening" because mulch and other organic materials are layered on top of the ground surface to create the sheet mulch. These organic materials will decompose over several months to create a fertile and weed-free topsoil for growing a new garden.
As a no-dig method of improving soil, sheet mulching is a permaculture technique. Also known as "composting in place", this technique mimics the natural soil-building process that occurs on forest floors. Sheet mulching is much more sustainable and eco-friendly than removing and replacing topsoil.
How to Create A Sheet Mulch
A proper sheet mulch is about 8" deep, formed of 4 layers.
First Layer
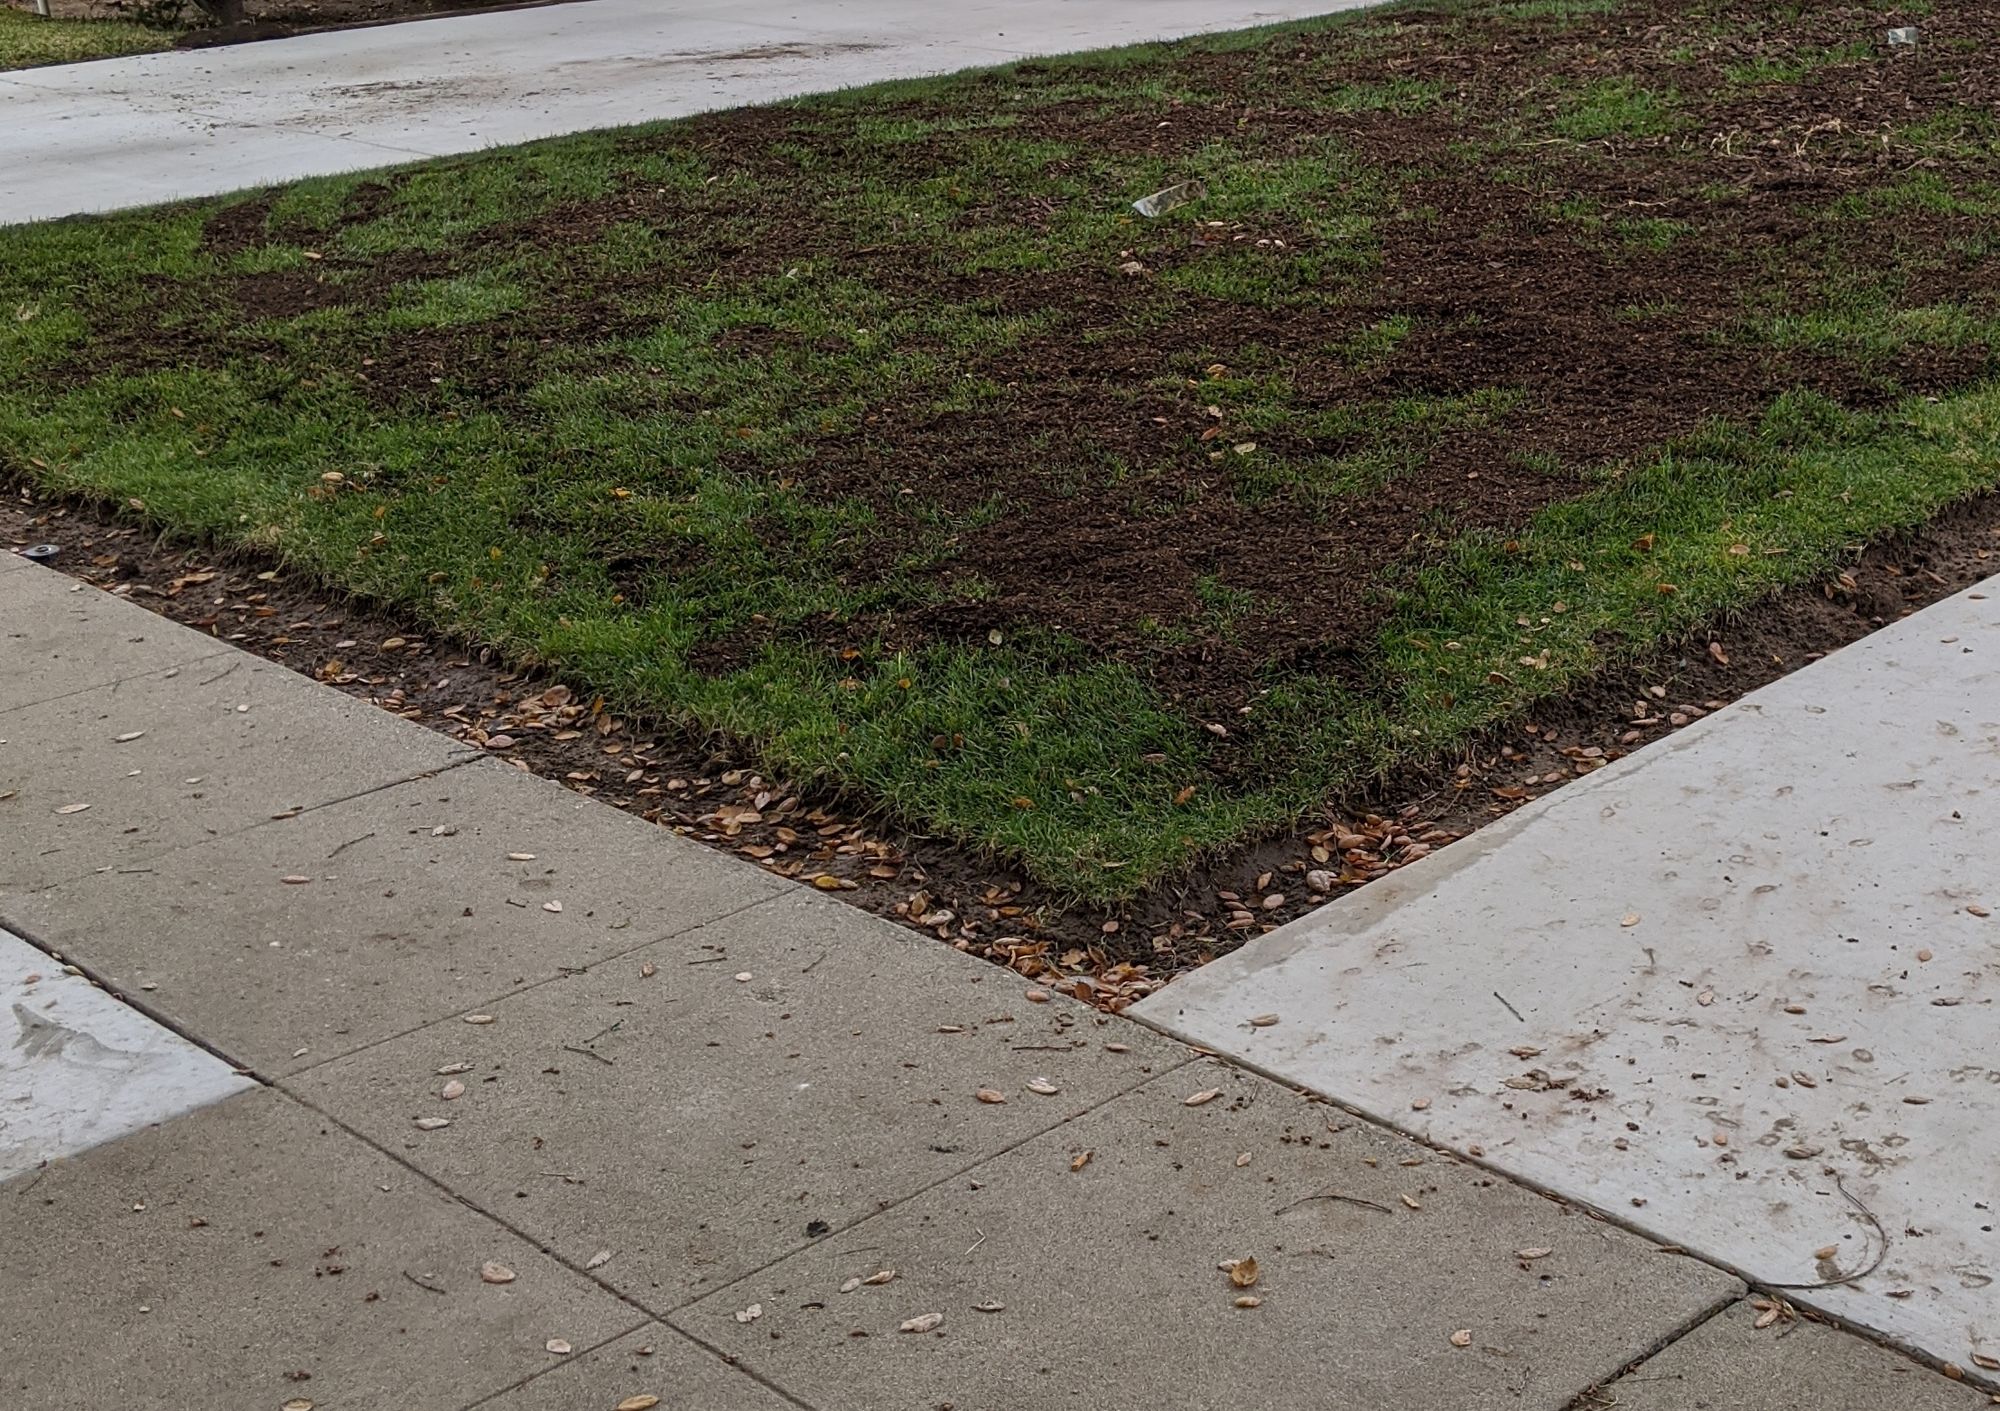
If the existing surface is a lawn, it should be mowed as short as possible and the clippings should be left on the lawn, mixed with compost to form a 1" (2.5cm) layer. If the existing surface is weedy, the weeds should be removed as much as possible, and a 1" layer of compost applied. Leaf litter or straw can be used in lieu of compost. This layer will attract earthworms to aerate your soil close to the surface. Use flags to mark where your sprinklers are as they may be hard to notice after the sheet mulch is fully applied.
Note that if your lawn is made up of Bermuda grass, this must be removed. Bermuda grass cannot be left in place as the rhizomes can survive deep underground and emerge over the summer months. I have seen Bermuda grass re-emerging a couple of years after sheet mulching - it can be very tenacious. Removing Bermuda grass requires digging out the turf and at least 3" (15cm) of soil to completely remove the rhizomes that will sprout new growth.
Another tip for lawn areas is to completely remove a 12" (30cm) strip of the turf from the other edge. This will help prevent any grass rhizomes from spreading out from the under the sheet mulch as the edges cannot always be sealed completely. The ditch will also hold in the mulch and prevent it from spilling over into the adjacent area.

Second Layer
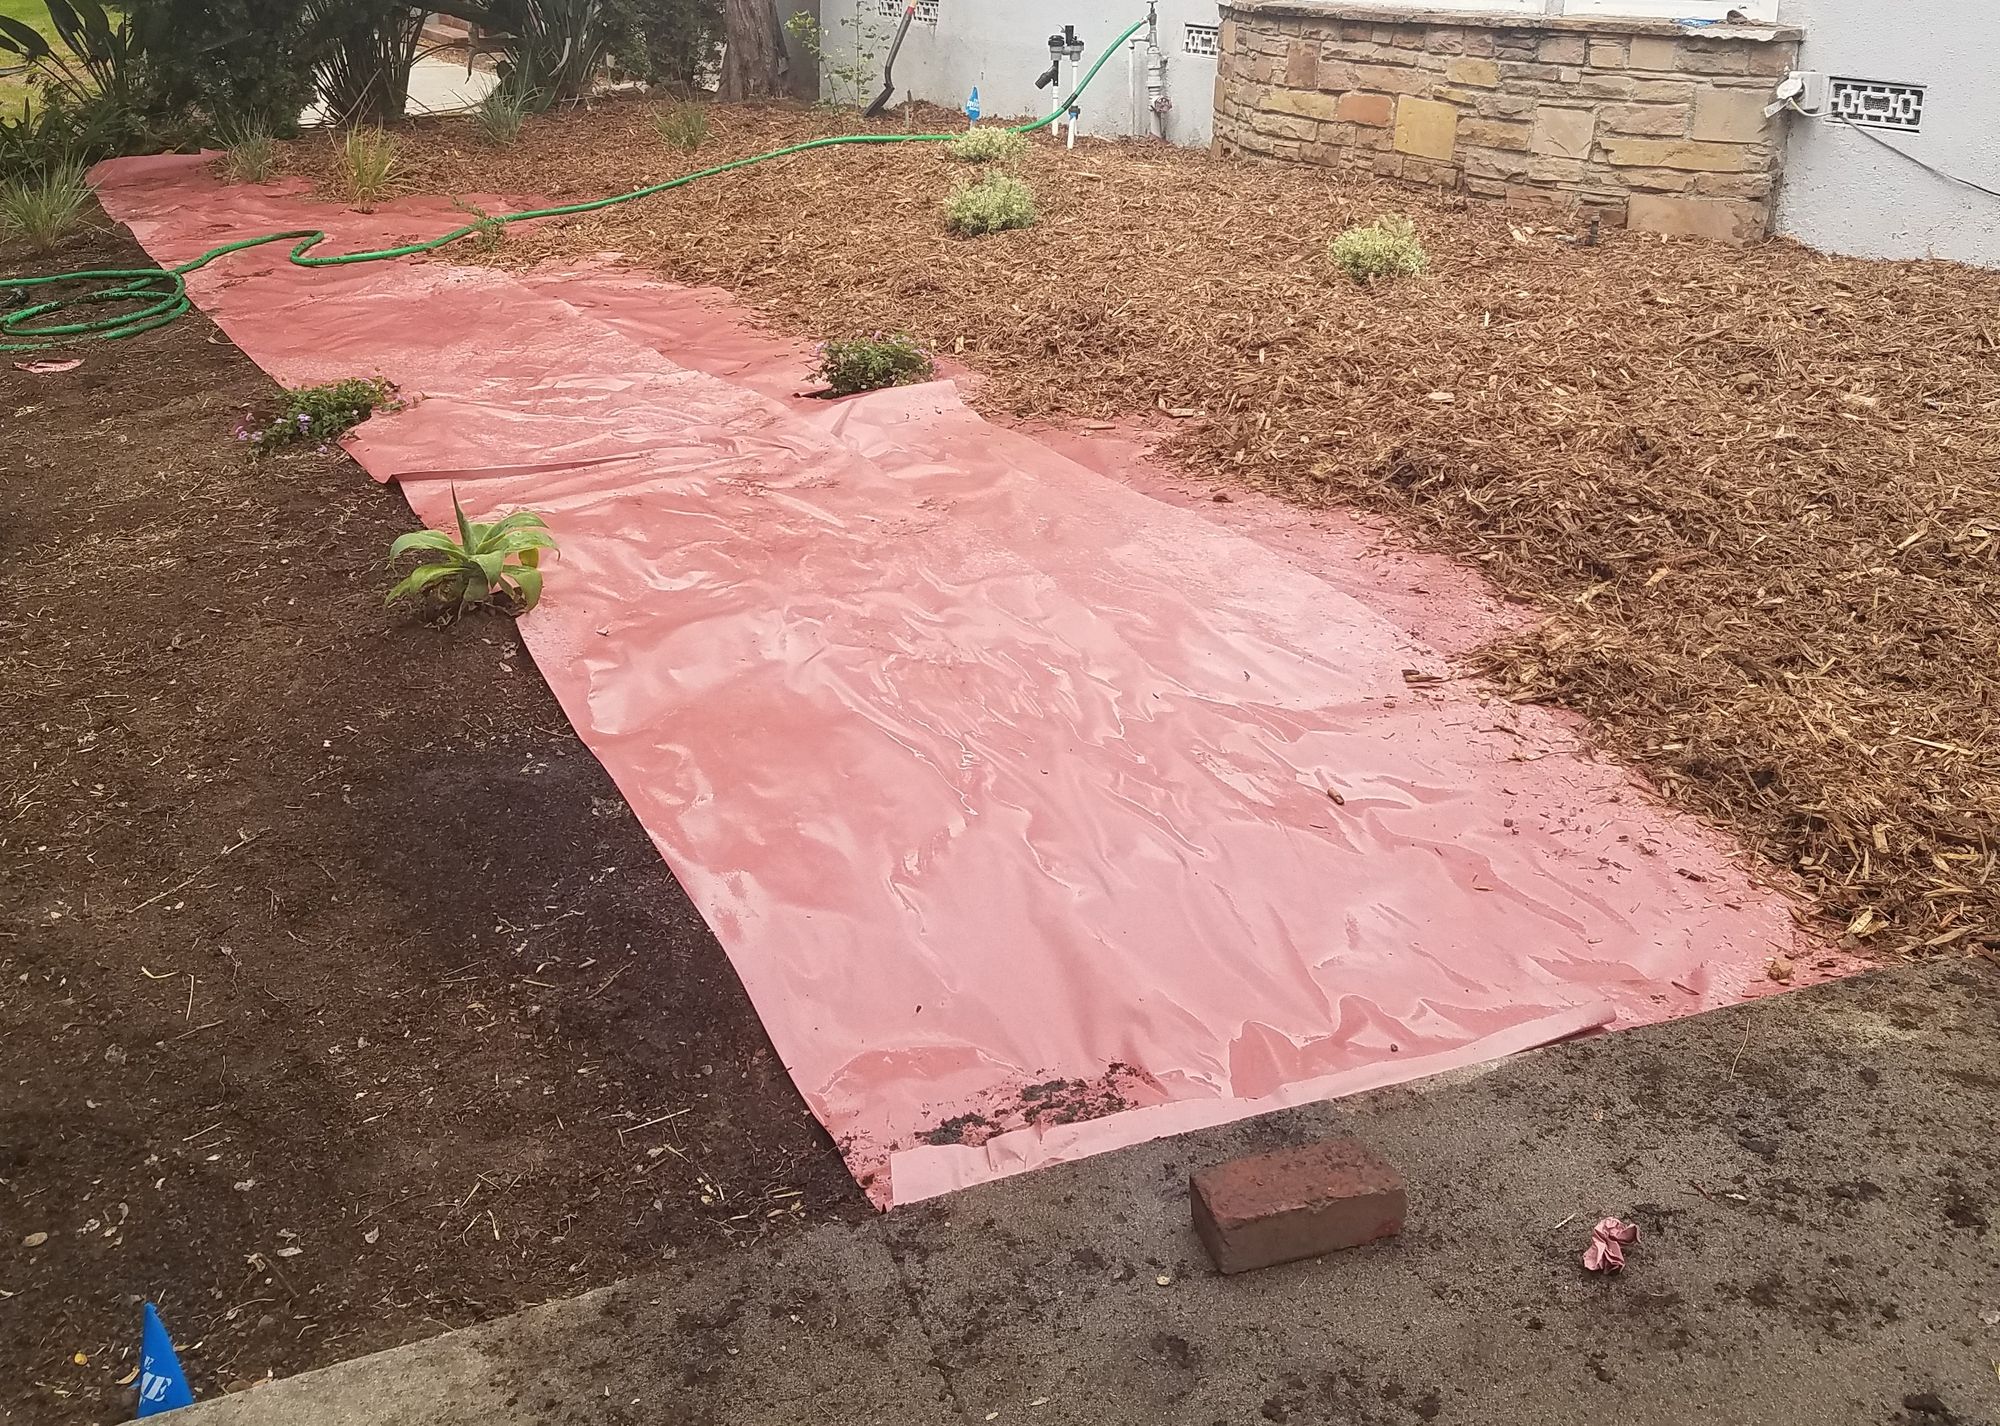
This layer needs to be impermeable to light, and is typically a paper or cardboard layer. This type of material is used because it will decompose into the soil after it has done it's job. When using paper, apply several layers of overlapping sheets to form a 1/4" (0.5cm) layer. When using cardboard, this layer should be 3-4 layers of cardboard thick. The goal here is to make this layer thick enough to prevent light from reaching the soil but not so thick that it takes a very long time to decompose.
With either type of material, it should be watered lightly with a hose as it is laid down. This will help hold the paper or cardboard down and prevent wind blowing it away.
I find that the best material for this layer is Rosin Paper. This paper is stronger than newspaper, but not as thick as cardboard. Rosin paper will decompose quicker than cardboard while not easily tearing during application.

Third Layer
The next layer should be a compost layer 2-3" (5-8cm) thick. This should be thoroughly soaked with water after applying to ground. This nitrogen-rich layer is the most important as it enables faster decomposition of the sheet mulch into healthy soil.
Fourth Layer
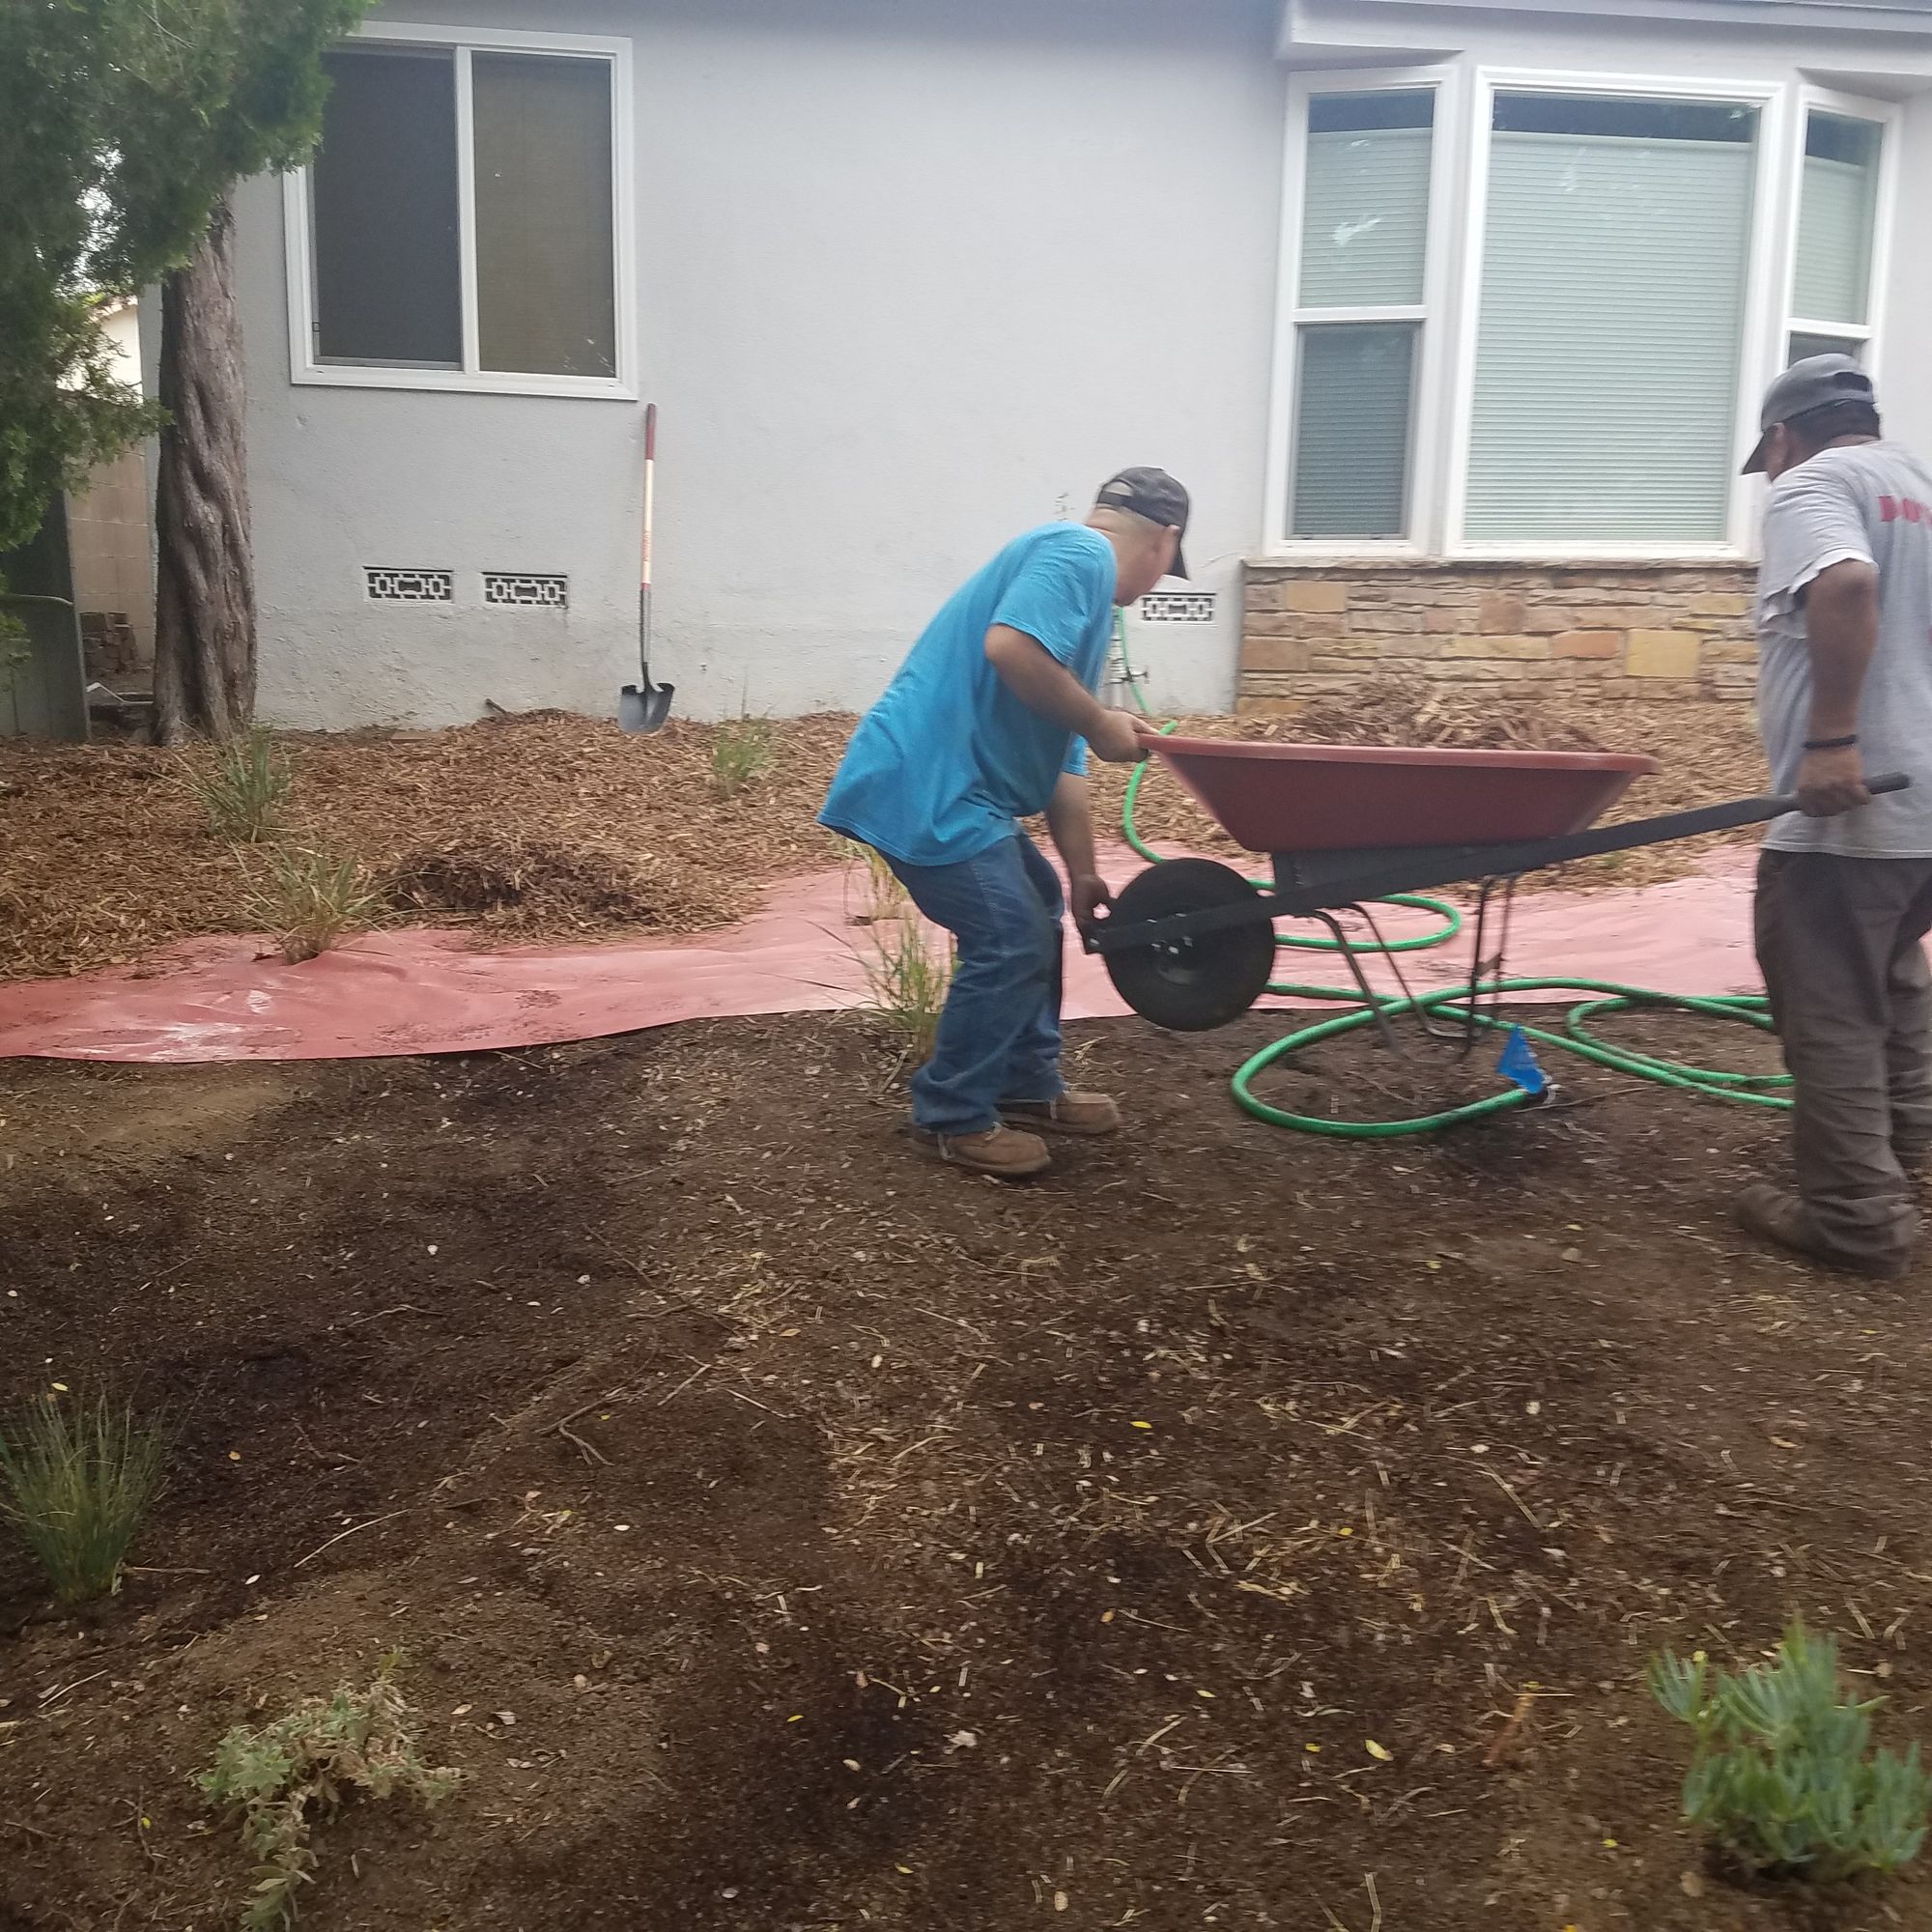
Finally, apply a 3-4" (8-10cm) layer of shredded mulch. this is the carbon-rich layer that provides food to beneficial microbes and protects the soil. This layer should also be soaked with water and compacted by foot after application. Do not use bark nugget mulch for this layer as it is very slow to decompose and can pull nitrogen away from the soil.

At this stage, you should have a sheet mulch that is 7" (18cm) higher than the ground. If you created a ditch around the mulched area for the first layer, the mulch can be applied at the outside to slope down to the edge.
Planting
Once the sheet mulch is applied, you can plant large shrubs directly into the sheet mulch. This can be done by tearing through the cardboard or paper layers and adding nursery soil (50/50 compost/soil mix) around the planting area. Mulch should be kept away from the crown of the plants.
Decompostion
It will take several months for the sheet mulch to start having an effect on the soil, so you need to wait for nature to do it's thing. The sheet mulch should be kept consistently damp during this stage to help expedite decomposition. If this is for a lawn area, continue to run the sprinklers on their existing schedule. Normally, after 6 months, the layers under the sheet mulch have broken down into fertile, well-draining soil. If you dig into it and see earthworms, that is a sign you have good healthy soil.
Ongoing Maintenance
While your sheet mulch is left do its work, you should check to make sure the mulch is relatively undisturbed. If you are doing this in a front yard, cordon off the area with caution tape stapled to wooden stakes to dissuade people from waling over it. If raccoons frequent your area, they love to dig into mulched areas looking for grubs to eat. This activity may cause them to dig through the paper or cardboard layer and expose the weedy under-layer to the sun. To prevent this, you can use a natural repellent that uses capsaicin to deter them. Capsaicin is the component that gives peppers a spicy taste. Raccoons and rodents have a strong sense of smell and this will irritate them.
Inspect the sheet mulched area regularly and reapply any ares where there is major disturbance. Any weeds found growing should be removed immediately.
Mushrooms and other funghi may appear on the the sheet mulch. This is a sign that the decomposition is working as intended, and nothing to be alarmed about. You may want to remove the mushrooms to keep it looking tidy and prevent worrying your neighbors if this is in a front yard exposed to the public.

A minimum layer of 3" mulch should always be present in the area even after planting. Plan to replenish a 2" depth of mulch every year.
Common Questions about Sheet Mulching
How much Mulch/Compost do we need?
Sheet mulching requires a lot of materials and buying it in bags at your local garden center can be very costly. The mulch and compost should be ordered in bulk from a landscape materials supplier. As these large amounts require a commercial truck to transport, these suppliers will normally deliver to your home for a fee. For gardeners in the USA, these suppliers sell their materials in quantities of a "yard" or "half-yard". In this context, Yard is short for Cubic Yard. In Metric countries this will likely be sold in measures of Cubic Meters.
To Calculate how many yards you need, multiply the square foot measurement of your area by your desired depth to get the volume in cubic feet. To convert cubic feet to cubic yards, divide by 27.
Lets say you have a space that is 10'-5" long and 8'-4" wide and you would like a 4" layer of mulch. The square feet measurement is 10.417 * 8.333 = 86.8. Multiply this by your desired depth (4" = 0.333'): 86.8*0.333 = 28.9 cubic ft. There are 27 cubic feet to a cubic yard, so 28.9/27= 1.07 cubic yards of mulch needed to fill the area.
The same space measured in metric units is 1.651 m * 2.438 m = 4.025 square meters. 4" = 0.101 m, making the cubic meters measurement: 4.025 * 0.101 = 0.406 cubic meters (round up to 0.5 cubic meters).
Online calculators are available to calculate these measurements for you. I like to use the one at the calculator site.
Solarization vs Sheet Mulching
Solarization is a similar method for treating a weedy ground surface or killing a lawn without pesticides. Solarization is achieved by laying large sheets of plastic over the ground to completely suffocate it from the sun. The sun shines on the plastic and cause the underside to heat up which will completely sterilize the ground and kill all the vegetation and seeds. The key difference between sheet mulching and solarization is that the soil is not improved after solarization and the plastic materials need to be removed before the area can be landscaped again. Plastic often degrades and tears easily after long exposure to the sun, so this can be a difficult task.


